Replacement • Put on gloves to protect your hands. • When prying with a flat-tip screwdriver, wrap it with protective tape, and apply protective tape around the related parts, to prevent damage. • ...
Replacement • Put on gloves to protect your hands. • When prying with a flat-tip screwdriver, wrap it with protective tape, and apply protective tape around the related parts, to prevent damage. • ...
See also:
Tire Pressure Monitoring System (TPMS)
(1) TPMS malfunction indicator (2) Low tire pressure indicator (Shown on the LCD display) Each tire, including the spare (if provided), should be checked monthly when cold and inflated to the recommended ...
Instrument Cluster. Description
and Operation
Description Communication Network Diagram Abbreviation Explanation C_CAN Chassis Controller Area Network B_CAN Body Controller Area Network MM_CAN Multi media Controller Area Network SMK Smart Key ECU ...
High Mounted Stop Lamp. Repair procedures
Removal High Mounted Stop Lamp 1. Disconnect the negative (-) battery terminal. 2. Remove the rear spoiler. 3. Remove the high mounted stop lamp assembly (A) after loosening screws (4EA). Installation ...
 Hyundai Santa Fe: Front Mud Guard. Repair procedures
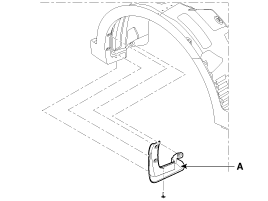
 Rear Wheel Guard. Repair procedures
 Rear Mud Guard. Repair procedures