Replacement ÔÇó Put on gloves to protect your hands. ÔÇó When prying with a flat-tip screwdriver, wrap it with protective tape, and apply protective tape around the related parts, to prevent damage. ÔÇó ...
Replacement ÔÇó Put on gloves to protect your hands. ÔÇó When prying with a flat-tip screwdriver, wrap it with protective tape, and apply protective tape around the related parts, to prevent damage. ÔÇó ...
See also:
Closing the fuel filler lid
1. To install the cap, turn it clockwise until it ÔÇťclicksÔÇŁ one time. This indicates that the cap is securely tightened. 2. Close the fuel filler lid and push it in lightly making sure that it is securely ...
Occupant classification system
Your vehicle is equipped with an occupant classification system in the front passenger's seat. The occupant classification system is designed to detect the presence of a properly-seated front passenger ...
Knock Sensor (KS). Description and Operation
Description Knocking is a phenomenon characterized by undesirable vibration and noise and can cause engine damage. Knock Sensor (KS) is installed on the cylinder block and senses engine knocking. When ...
 Hyundai Santa Fe: Door Garnish. Repair procedures
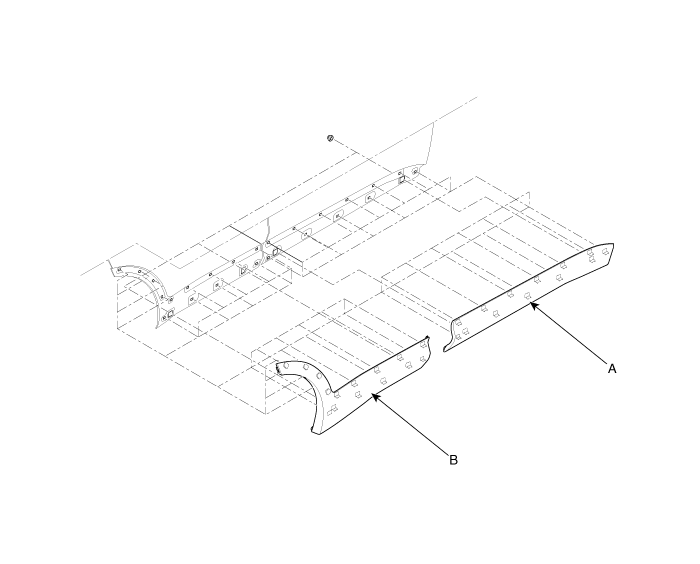
 Quarter Garnish. Repair procedures
 Front Wheel Guard. Repair procedures