See also:
High beam operation
To turn on the high beam headlights, push the lever away from you. Pull it back for low beams. The high beam indicator will light when the headlight high beams are switched on. To prevent the battery ...
Repair procedures
Replacement [Removal] • Put on gloves to protect your hands. • Use seat covers to avoid damaging any surfaces. 1. Remove the rear pillar trim. 2. Loosen the quarter fixed glass (A) mounting nuts. Tightening ...
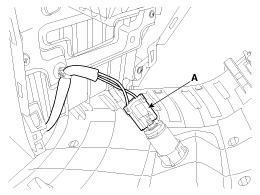
Engine Control Module (ECM). Schematic Diagrams
ECM Terminal And Input/Output signal ECM Terminal Function Connector [C100-A] Pin No. Description Connected to 1 Ignition Coil (Cylinder #2) control output [NON-smart key type] Ignition Coil (Cylinder ...
 Hyundai Santa Fe: Rear Console Cover. Repair procedures
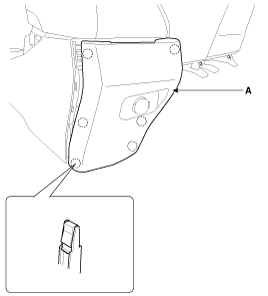
 Rear Console Cover. Components and Components Location
 Console Armrest. Components and Components Location