
 Hyundai Santa Fe: SS-A Solenoid Valve(ON/OFF). Repair procedures
Inspection
| 1. |
Turn ignition switch OFF.
|
| 2. |
Remove the air duct.
|
| 3. |
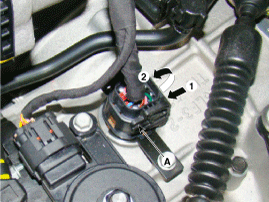
Disconnect the solenoid valve connector(A).
|
| 4. |
Measure resistance between sensor signal terminal and sensor ground
terminal.
|
| 5. |
Check that the resistance is within the specification.
|
Removal
| 1. |
Remove the air duct.
|
| 2. |
Remove the battery and the battery tray.
|
| 3. |
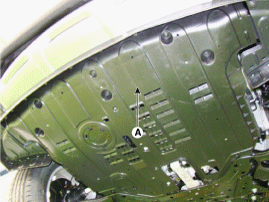
Remove the under cover(A).
|
| 4. |
Drain the coolant.
|
| 5. |
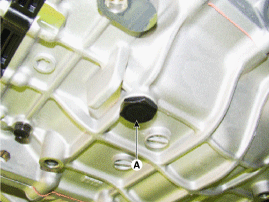
Remove the drain plug (A) and reinstall the drain plug after draining
ATF totally.
|

| 6. |
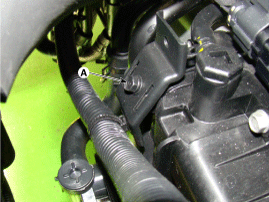
Remove the wiring bracket installation bolt (A).
|
| 7. |
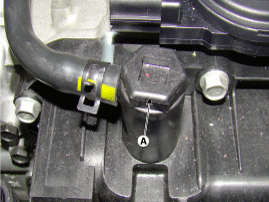
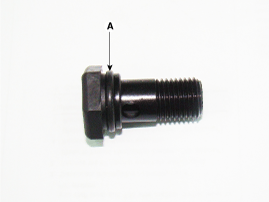
Remove the ATF Injection hole(eyebolt)(A).
|
| 8. |
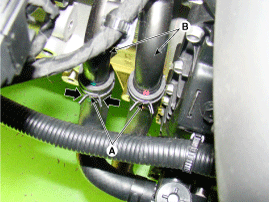
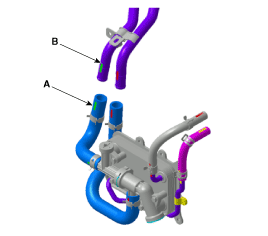
Disconnect the coolant hose (B) after removing the coolant hose
clamp (A).
|
| 9. |
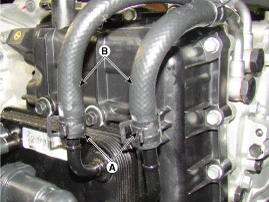
Disconnect the hose (B) after removing the automatic transaxle
fluid cooler hose clamp (A).
|
| 10. |
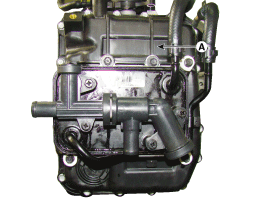
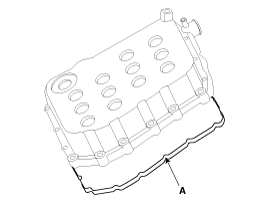
Remove the valve body cover (A).
|
| 11. |
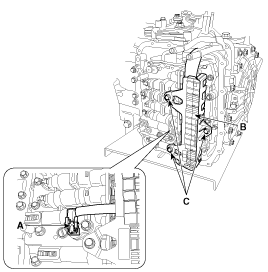
Remove the bolts (C) after disconnecting the solenoid valve connector
(B) and the oil temperature sensor connector (A).
|
| 12. |
Remove the solenoid valve support bracket (A).
|
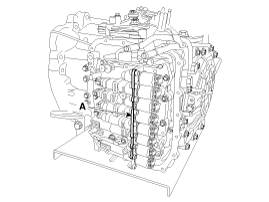
| 13. |
Remove the solenoid valve (A).
|
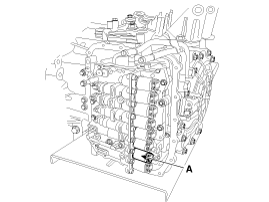
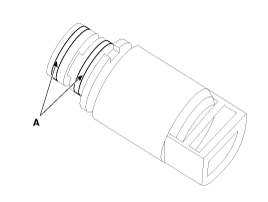
Installation
| 1. |
Install in the reverse order of removal.
|

 SS-A Solenoid Valve(ON/OFF). Schematic Diagrams
Circuit Diagram ...
 SS-B Solenoid Valve(ON/OFF). Description and Operation
Description SS-B solenoid valve is attached to the valve body and is an on/off solenoid valve that is used to change gears. SS-B Solenoid valve(ON/OFF) is installed at valve body. ...
See also:
Jump starting procedure
✽ NOTICE If the battery is discharged, the engine can be started using a battery of another vehicle and two jumper cables. Only use jumper cables with fully insulated clamp handles. To prevent personal ...
California perchlorate notice
Perchlorate Material-special handling may apply, See www.dtsc.ca.gov/hazardouswaste/ perchlorate. Notice to California Vehicle Dismantlers: Perchlorate containing materials, such as air bag inflators, ...
Inside Rear View Repair procedures
Replacement [Manual Mirror] • Put on gloves to protect your hands. 1. Loosen the inside rear view mirror mounting screw (C). 2. Push the inside rear view mirror base (B) up to remove the inside rear ...
