Replacement • Put on gloves to protect your hands. • When prying with a flat-tip screwdriver, wrap it with protective tape, and apply protective tape around the related parts, to prevent damage. • ...
Replacement • Put on gloves to protect your hands. • When prying with a flat-tip screwdriver, wrap it with protective tape, and apply protective tape around the related parts, to prevent damage. • ...
See also:
Repair procedures
Valve Clearance Inspection And Adjustment Inspect and adjust the valve clearance when the engine is cold (Engine coolant temperature : 20°C (68°F)) and cylinder head is installed on the cylinder block. ...
Specifications
Specifications Item Specification Power source DC 14.4V (-) ground Frequency range / Channel space FM : 87.5 ~ 107.9 MHz / 200 KHz AM : 530 ~ 1710 KHz / 10 KHz Tuning type PLL SYNTHESIZED TUNING Impedance ...
Power Window Switch. Schematic Diagrams
Circuit Diagram Driver Power Window Switch Assist Power Window Switch Rear Power Window Switch ...
 Hyundai Santa Fe: Front Mud Guard. Repair procedures
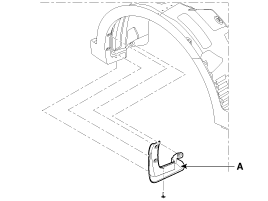
 Rear Wheel Guard. Repair procedures
 Rear Mud Guard. Repair procedures