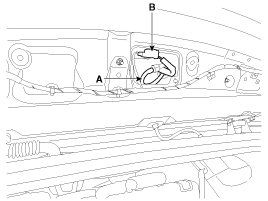
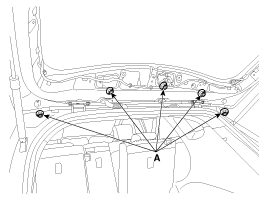
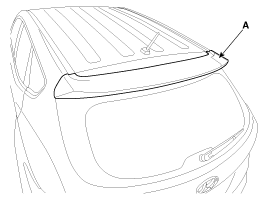
Replacement • Put on gloves to protect your hands. • When prying with a flat-tip screwdriver, wrap it with protective tape, and apply protective tape around the related parts, to prevent damage. • ...
Replacement • Put on gloves to protect your hands. • When prying with a flat-tip screwdriver, wrap it with protective tape, and apply protective tape around the related parts, to prevent damage. • ...
See also:
Special Service Tools
Special Service Tools Tool (Number and name) Illustration Use 09861-31100 Sealany cut-out tool Cutting windshield sealant (use with 09861-31200) 09861-31200 Sealant cutting blade Cutting windshield sealant ...
To decrease the cruising speed
Follow either of these procedures: Move the lever down (to SET-) and hold it. Your vehicle will gradually slow down. Release the lever at the speed you want to maintain. Move the lever down (to SET-) ...
Camshaft Position Sensor (CMPS). Troubleshooting
Wave Form ...

 Hyundai Santa Fe: Rear Spoiler. Repair procedures

 Delta Garnish. Repair procedures
 Fender Garnish. Repair procedures